Last updated: March 20, 2026
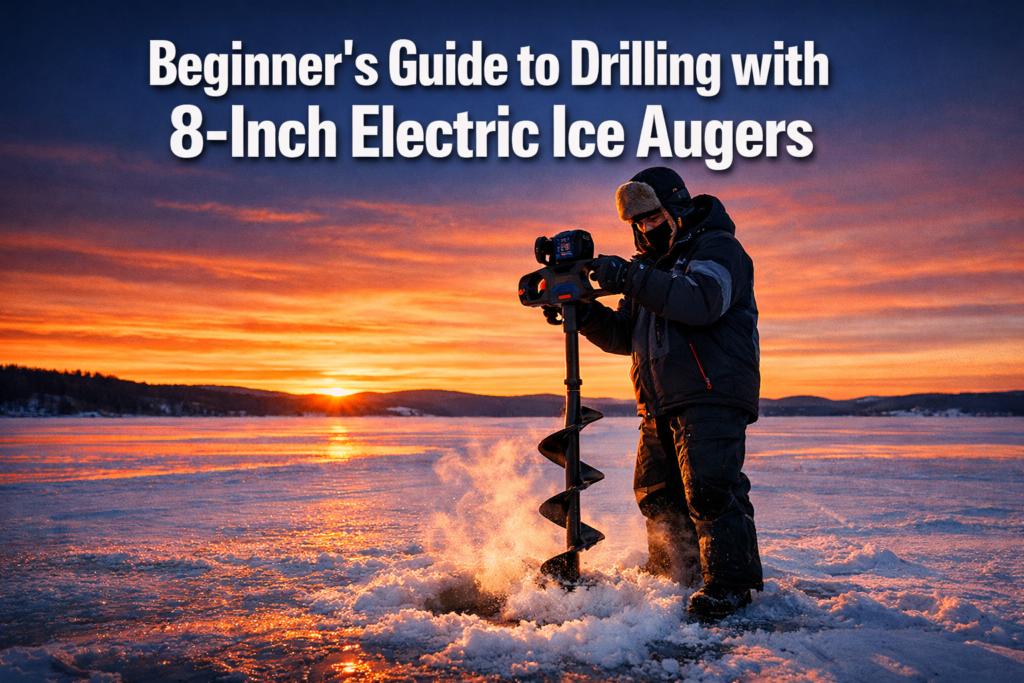
Quick Answer: This Beginner’s Guide to Drilling with 8-Inch Electric Ice Augers provides the ultimate framework for effortless ice fishing. In 2026, the secret to drilling through thick ice without fatigue is letting the high-torque motor do the work. By following a proven setup and vertical drilling technique, you avoid the frustrating physical exhaustion and equipment damage caused by common rookie errors.
Key Takeaways
- Charge your battery to 100% before every trip. Cold temperatures reduce battery output significantly.
- Always attach the blade guard during transport. Remove it only when you are ready to drill.
- Hold the auger vertical. Even a slight angle causes binding and uneven holes.
- Match your 8-inch auger to ice between 4 and 36 inches thick for best results.
- Clear ice shavings from the hole with a skimmer before dropping your line.
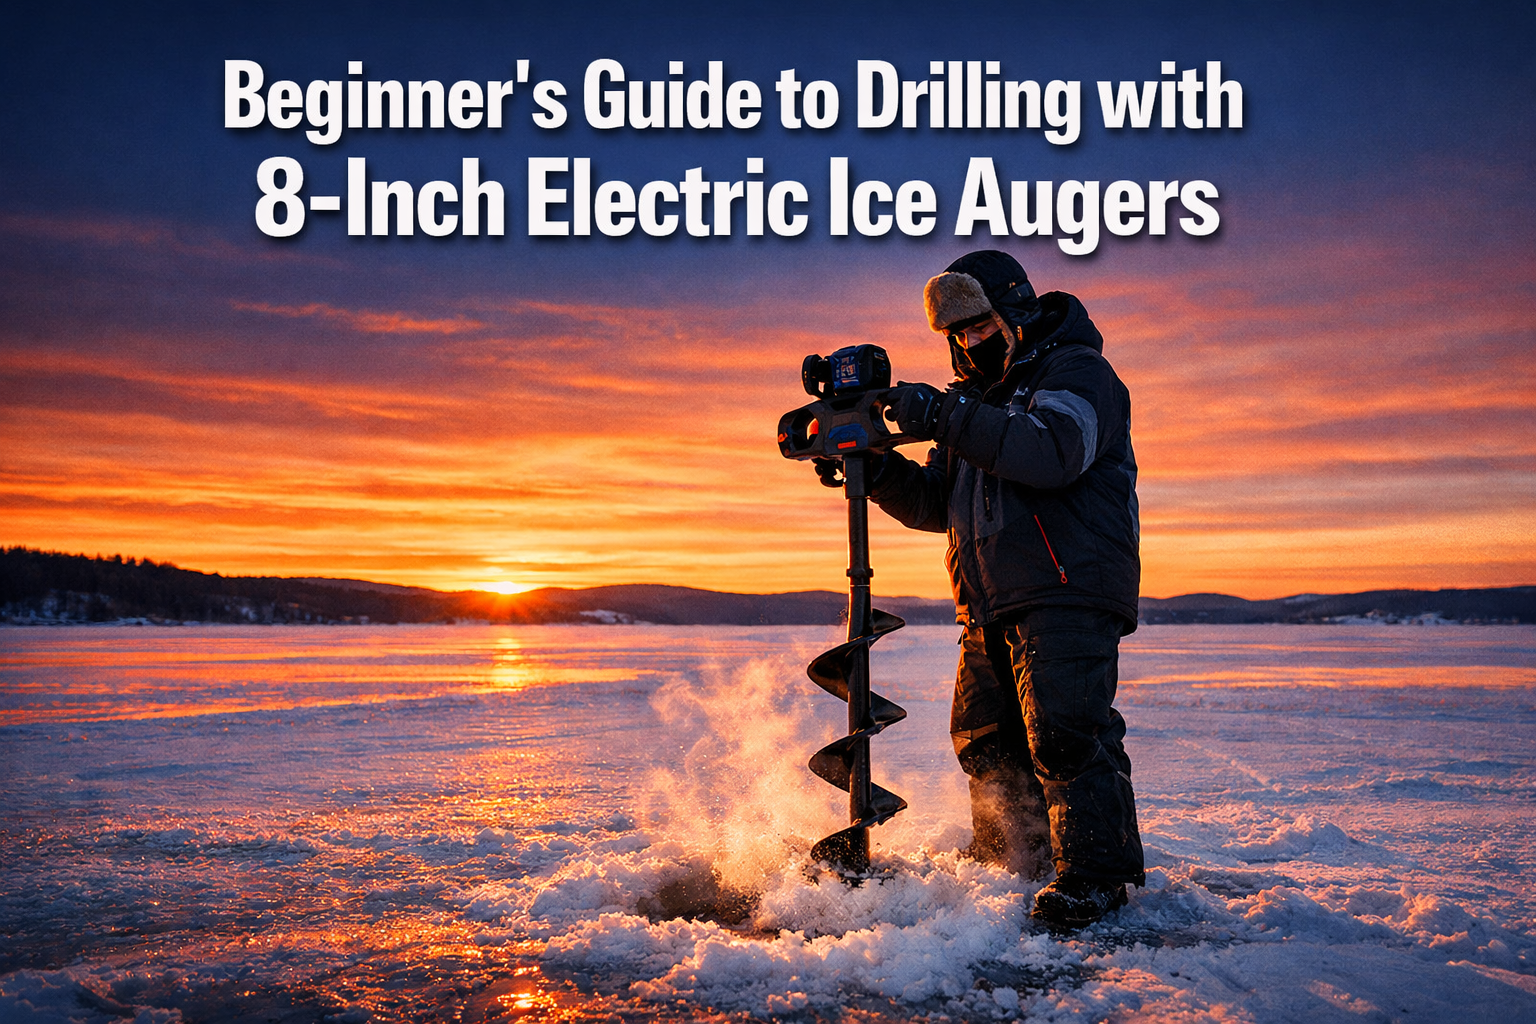
- Dull blades are the top cause of slow drilling and motor strain. Inspect blades before every trip.
- Electric augers now capture over 60% of new auger sales, confirming the technology works in real-world conditions.
- Modern electric augers like the ION Alpha achieve 3.5 inches per second cutting speed with up to 2,000 inches of ice per charge.

What Does a Beginner's Guide to Drilling with 8-Inch Electric Ice Augers Actually Cover?
This guide covers everything from unboxing to drilling your first clean hole. It is built for anglers upgrading from manual augers or picking up an electric unit for the first time.
An 8-inch hole is the standard size for most ice fishing species, including walleye, pike, perch, and crappie. The 8-inch diameter gives you enough room to land fish without being so large that it weakens the surrounding ice structure. Electric models remove the physical effort of hand drilling and eliminate the cold-start frustrations of gas engines, making them the right starting point for most beginners.
The electric ice auger market reached $0.7 billion globally in 2026, with North America holding a 34.22% market share, reflecting how widely the technology has been adopted by serious anglers. If you are new to the ice and want a reliable, low-maintenance tool, an 8-inch electric auger is the right choice.
How Do You Set Up an 8-Inch Electric Auger Before Your First Trip?
Setup takes about 10 minutes and should happen at home, not on the ice. Rushing setup in cold temperatures leads to missed steps and equipment problems.
Follow these steps in order:
- Charge the battery fully. Plug in the battery pack the night before your trip. Lithium-ion batteries perform best when fully charged, and cold air reduces available power by 15 to 30 percent depending on temperature.
- Inspect the blades. Look for nicks, chips, or dull edges. Sharp blades cut fast and reduce motor strain. See our guide on blade sharpening techniques for 8-inch electric augers for a full DIY vs. professional cost breakdown.
- Attach the auger bit to the motor unit. Align the drive shaft, insert it into the motor housing, and tighten the locking collar until it is firm. Give the bit a firm tug to confirm it is seated.
- Install the battery pack. Slide the battery into the motor housing until it clicks. Check the charge indicator.
- Keep the blade guard on. The guard stays on during transport and storage. Remove it only when you are standing over your drilling location on the ice.
- Test the trigger. Give the motor a one-second burst in your garage or truck bed. Listen for smooth operation. Any grinding or hesitation signals a problem to fix before you reach the lake.
Decision rule: If the battery shows less than two indicator lights (or under 50% charge), charge it before you go. Drilling through 12 inches of ice on a cold morning will drain a half-charged battery faster than you expect.

What Ice Thickness Works Best with an 8-Inch Electric Auger?
An 8-inch electric auger handles ice from 4 inches up to 36 inches or more, depending on the model and battery capacity. For safety, you should not be on the ice at all until thickness reaches at least 4 inches for a single angler on foot.
Here is a practical thickness reference:
| Ice Thickness | Safe For | Auger Performance |
|---|---|---|
| Under 4 inches | Nobody | Do not drill |
| 4 to 8 inches | Single angler on foot | Fast, 1 to 3 seconds per hole |
| 8 to 16 inches | Small groups, ATVs | Standard, 3 to 8 seconds per hole |
| 16 to 30 inches | Snowmobiles, light vehicles | Slower, battery draws more power |
| 30+ inches | Heavy vehicles | Multiple battery passes may be needed |
For drilling through 30 inches or more, check our breakdown of the best electric ice auger for 30-inch ice to confirm your model is rated for that depth.
Before you drill anywhere, use a spud bar to test ice integrity as you walk out. Read our full guide on spudding techniques and ice safety protocols before your first trip.
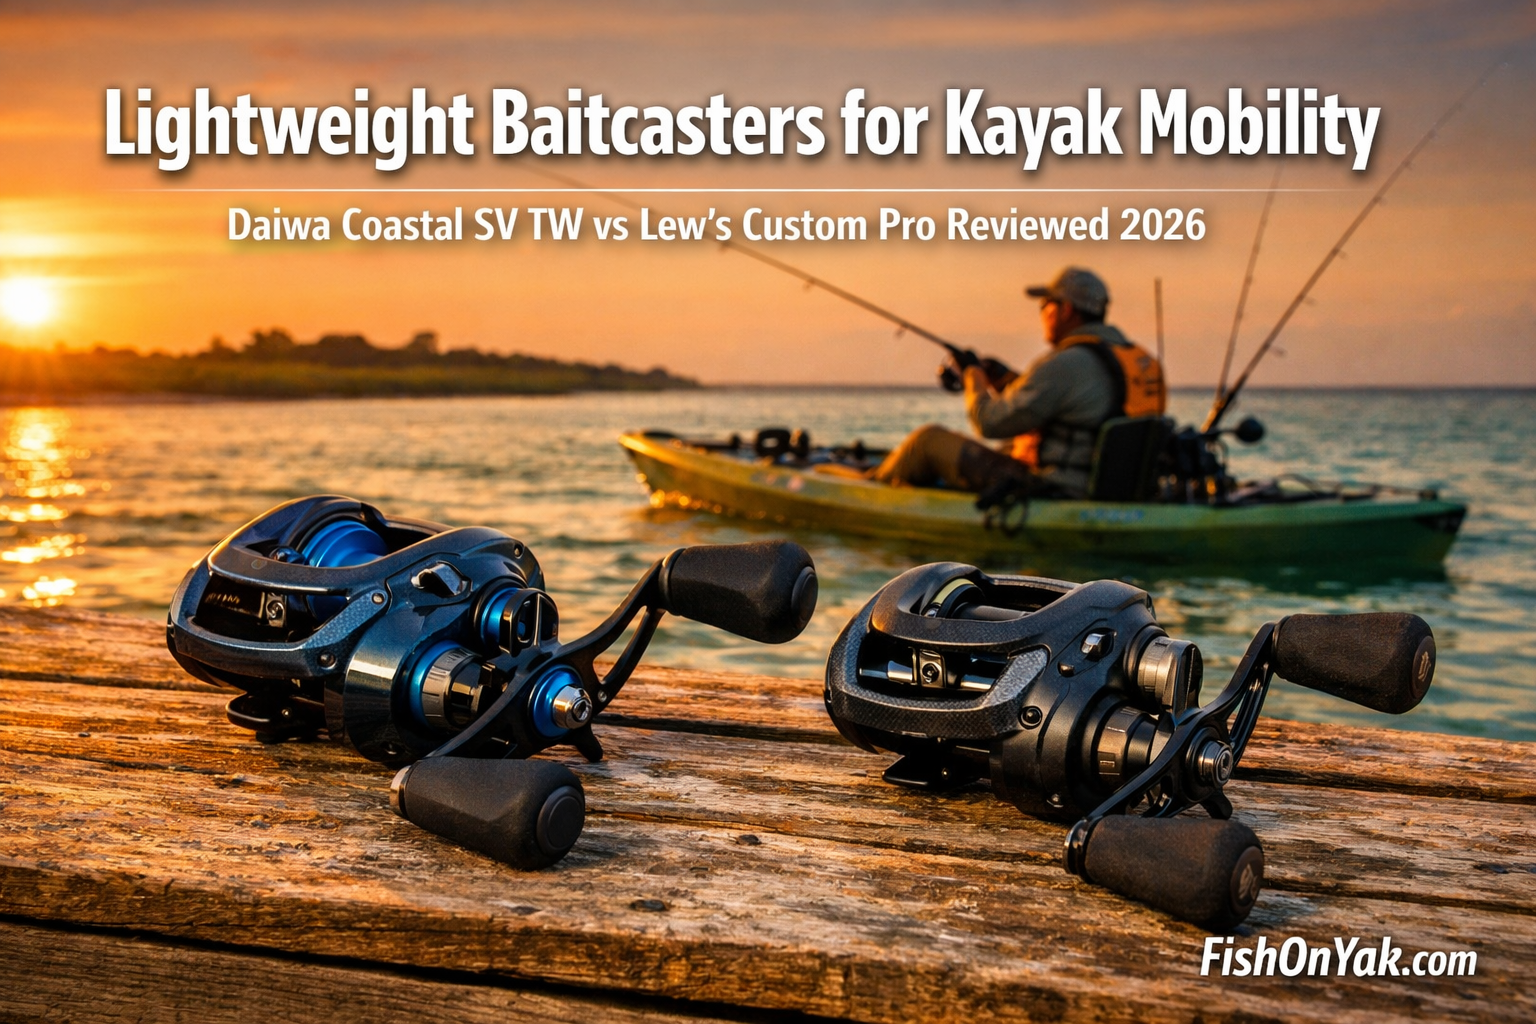
What Is the Correct Drilling Technique for Beginners?
Good technique produces a clean, vertical hole in under 10 seconds. Poor technique jams the bit, wastes battery power, and produces a crooked hole that makes fishing harder.
Step-by-step drilling sequence:
- Stand with your feet shoulder-width apart, directly over your target spot.
- Hold the auger with both hands. One hand on the top handle, one on the lower grip or trigger handle.
- Position the bit tip on the ice surface. Keep the auger shaft perfectly vertical.
- Squeeze the trigger and let the motor reach full speed before applying downward pressure.
- Press down with steady, even force. Do not push hard. The blades do the cutting when the motor is at speed.
- As the bit bites through the bottom of the ice, ease off downward pressure slightly to avoid the auger dropping into the water.
- Lift the auger straight up and out of the hole.
- Use a skimmer to clear ice shavings from the hole before fishing.
“The silence factor alone is worth the switch. I can drill holes 20 feet from my shelter without disturbing other anglers or spooking fish in shallow water.” That advantage disappears if your technique is sloppy and you are spending three minutes wrestling a jammed bit.
Common mistake: Beginners often start pressing down before the motor reaches full speed. This causes the blades to grab and stall instead of cutting cleanly.

What Are the Most Common Mistakes Beginners Make with Electric Ice Augers?
Most beginner problems come from four repeatable errors. Knowing them before your first trip saves you frustration and protects your equipment.
1. Tilting the auger off vertical Even a 5-degree angle causes the bit to bind against the ice wall. The motor strains, the hole comes out oval, and your line will catch the edge when you fish. Keep the shaft straight up and down. Check your posture before you squeeze the trigger.
2. Forcing the bit when it slows If the auger slows down mid-hole, the blades are dull or you hit a hard layer. Forcing it drains the battery and risks breaking a blade. Pull the bit out, clear the hole of shavings, and re-enter with the motor at full speed.
3. Skipping the blade inspection Dull blades are the top cause of slow drilling and motor strain. [4] Inspect blades before every trip and sharpen or replace them at the first sign of drag. Learn the full process in our guide on how to sharpen power ice auger blades at home.
4. Leaving the battery in the cold between holes Lithium-ion batteries lose capacity fast in sub-zero temperatures. Keep a spare battery inside your jacket or shelter between uses. Warm batteries drill faster and last longer.
5. Not clearing ice shavings Shavings left in the hole freeze back over within minutes in cold weather. Always skim the hole clean immediately after drilling.

How Does an Electric Auger Compare to Gas and Manual Options?
Electric augers are the best starting point for most beginners, but understanding the alternatives helps you make a confident choice.
| Feature | 8-Inch Electric | 8-Inch Gas | Manual Hand Auger |
|---|---|---|---|
| Weight | 15 to 22 lbs | 25 to 35 lbs | 6 to 7 lbs |
| Cold-start reliability | Instant, every time | Difficult below -10°F | Always works |
| Drilling speed | 3.5 in/sec (ION Alpha) [7] | Comparable | Slow, physical effort |
| Maintenance | Low | High | Near zero |
| Noise | Quiet | Loud | Silent |
| Best for | Most beginners | Extreme cold (-20°F+) | Early season, thin ice |
The Eskimo Quantum 8-inch gas auger remains the preferred tool for extreme cold below -20°F, where battery performance drops significantly. Strike Master Mora hand augers (6 to 7 lbs) work well for early-season ice under 12 inches when you want to travel light.
For a full breakdown before you buy, read our electric vs. gas ice auger pros and cons for beginners.
If you want a specific model recommendation, our RAZR Powr 8-inch electric ice auger review covers real-world performance data from field testing.
How Do You Maintain an 8-Inch Electric Auger After Each Trip?
Post-trip maintenance takes less than five minutes and extends the life of your auger significantly. Skip it and you will deal with rust, dull blades, and battery problems by mid-season.
After every trip:
- Rinse the auger bit with fresh water to remove ice, slush, and salt residue.
- Dry the bit and motor housing with a clean cloth.
- Re-install the blade guard before storing.
- Remove the battery from the motor unit and store it at room temperature.
- Check blade edges for nicks or dull spots.
Before storing for the off-season:
- Charge the battery to 50 to 80% for long-term storage. Full charge degrades lithium-ion cells over months of inactivity.
- Apply a light coat of oil to the auger bit to prevent rust.
- Store the unit in a dry location away from temperature extremes.
Follow the full schedule in our 8-inch electric ice auger maintenance guide for pre-season, in-season, and off-season care steps.

FAQ: Beginner's Guide to Drilling with 8-Inch Electric Ice Augers
Q: How long does one battery charge last on an 8-inch electric auger? A: The ION Alpha drills up to 2,000 inches of ice per charge, which equals roughly 55 to 65 holes through 30-inch ice. Most anglers will not drain a full charge in a single day trip.
Q: Can I use an 8-inch electric auger in very cold weather? A: Yes, but battery performance drops in temperatures below 0°F. Keep spare batteries warm inside your jacket or shelter. Below -20°F, a gas auger is more reliable.
Q: How do I know if my blades are dull? A: Dull blades make the motor work harder, drill slower, and produce rough-edged holes. If drilling feels like it takes more than twice the normal time, inspect and sharpen the blades.
Q: What happens if the auger jams mid-hole? A: Release the trigger immediately. Pull the bit straight up and out. Clear ice shavings from the hole with a skimmer. Re-enter the hole with the motor at full speed before applying downward pressure.
Q: Is an 8-inch hole big enough for walleye and pike? A: An 8-inch hole handles walleye up to about 28 inches without difficulty. For large pike, a 10-inch hole gives more clearance, but most anglers land pike through 8-inch holes with practice.
Q: Do I need a special charger for my electric auger battery? A: Use only the charger supplied by the manufacturer. Third-party chargers risk overcharging lithium-ion cells, which reduces battery lifespan and creates a safety risk.
Q: How deep does the bit go before I need to pull it out and clear shavings? A: On ice thicker than 16 inches, pull the bit out once to clear shavings at the halfway point. This prevents the hole from packing with ice chips and stalling the motor.
Q: What is the minimum safe ice thickness before I drill? A: Four inches of clear, solid ice for a single angler on foot. Check ice thickness with a spud bar or chisel as you walk out, not just at the shore.
Q: Should I wear safety gear while operating an electric auger? A: Wear insulated gloves with grip, keep loose clothing away from the rotating bit, and always wear a float suit when fishing on early-season or questionable ice.
Q: Can I drill multiple holes in a grid pattern? A: Yes. Space holes at least 5 feet apart to avoid weakening the ice between them. For camera positioning relative to your holes, see our guide on optimal hole spacing and camera positioning for ice fishing.
Conclusion
The beginner's guide to drilling with 8-inch electric ice augers comes down to three things: proper setup, clean technique, and consistent maintenance. Charge your battery the night before. Attach the bit firmly. Stand straight, keep the auger vertical, and let the motor do the work. Clear your holes, inspect your blades, and store your battery warm.
Electric augers have removed most of the barriers that made ice fishing difficult for newcomers. The technology is proven, the technique is learnable in one trip, and the results speak for themselves.
Your next steps:
- Read the electric vs. gas ice auger pros and cons for beginners if you have not bought your auger yet.
- Bookmark the 8-inch electric ice auger maintenance schedule and follow it from day one.
- Review spudding techniques and ice safety protocols before your first trip on the ice.
Kayak. Drill. Catch. Repeat.
See you on the water.
References
[1] Auger Fishing – https://beyondbraid.com/blogs/news/auger-fishing
[2] How To Start An Ice Auger And Drilling Your First – https://www.instructables.com/How-to-Start-an-Ice-Auger-and-Drilling-Your-First-/
[3] Best Ice Augers – https://northamerican-outdoorsman.com/best-ice-augers/
[4] Auger Fishing – https://beyondbraid.com/blogs/news/auger-fishing
[5] Electric Ice Auger Market 103450 – https://www.businessresearchinsights.com/market-reports/electric-ice-auger-market-103450
[6] Best Ice Fishing Augers – https://www.wired2fish.com/ice-fishing/best-ice-fishing-augers


